
What can you do on the Opticals-pages? On each page of an optical illusion you will find a window with the corresponding Snap!-program. You can interact with it directly:
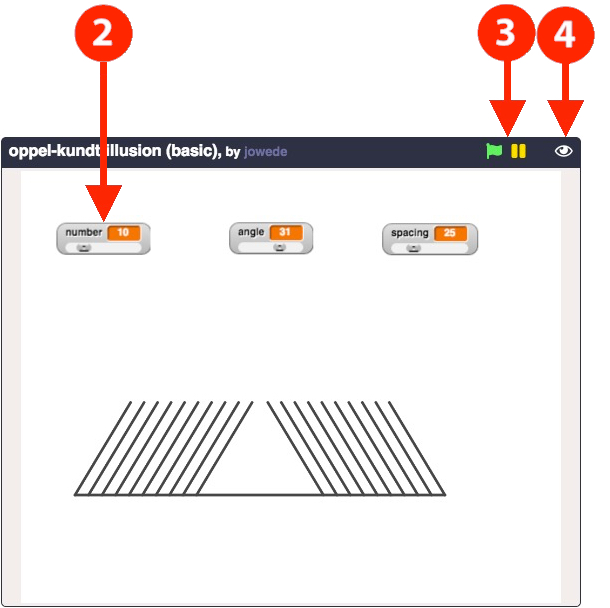
- To start the program, press the green flag.
- With the sliders you control the characteristics of the illusion (within given reasonable limits).
- With the buttons in the header you can interrupt or continue the program flow.
- With the eye switch in the header you get to the Snap! programming environment, which opens in a new browser window. There you will find the optical illusion in original image quality, and the program code.

The Snap! programming environment: In the scripting area (red bordered area) you have access to the program code. Now you can change or complete it as required. You can run and test your code immediately, and the result of your program changes are visible on the stage (blue bordered area).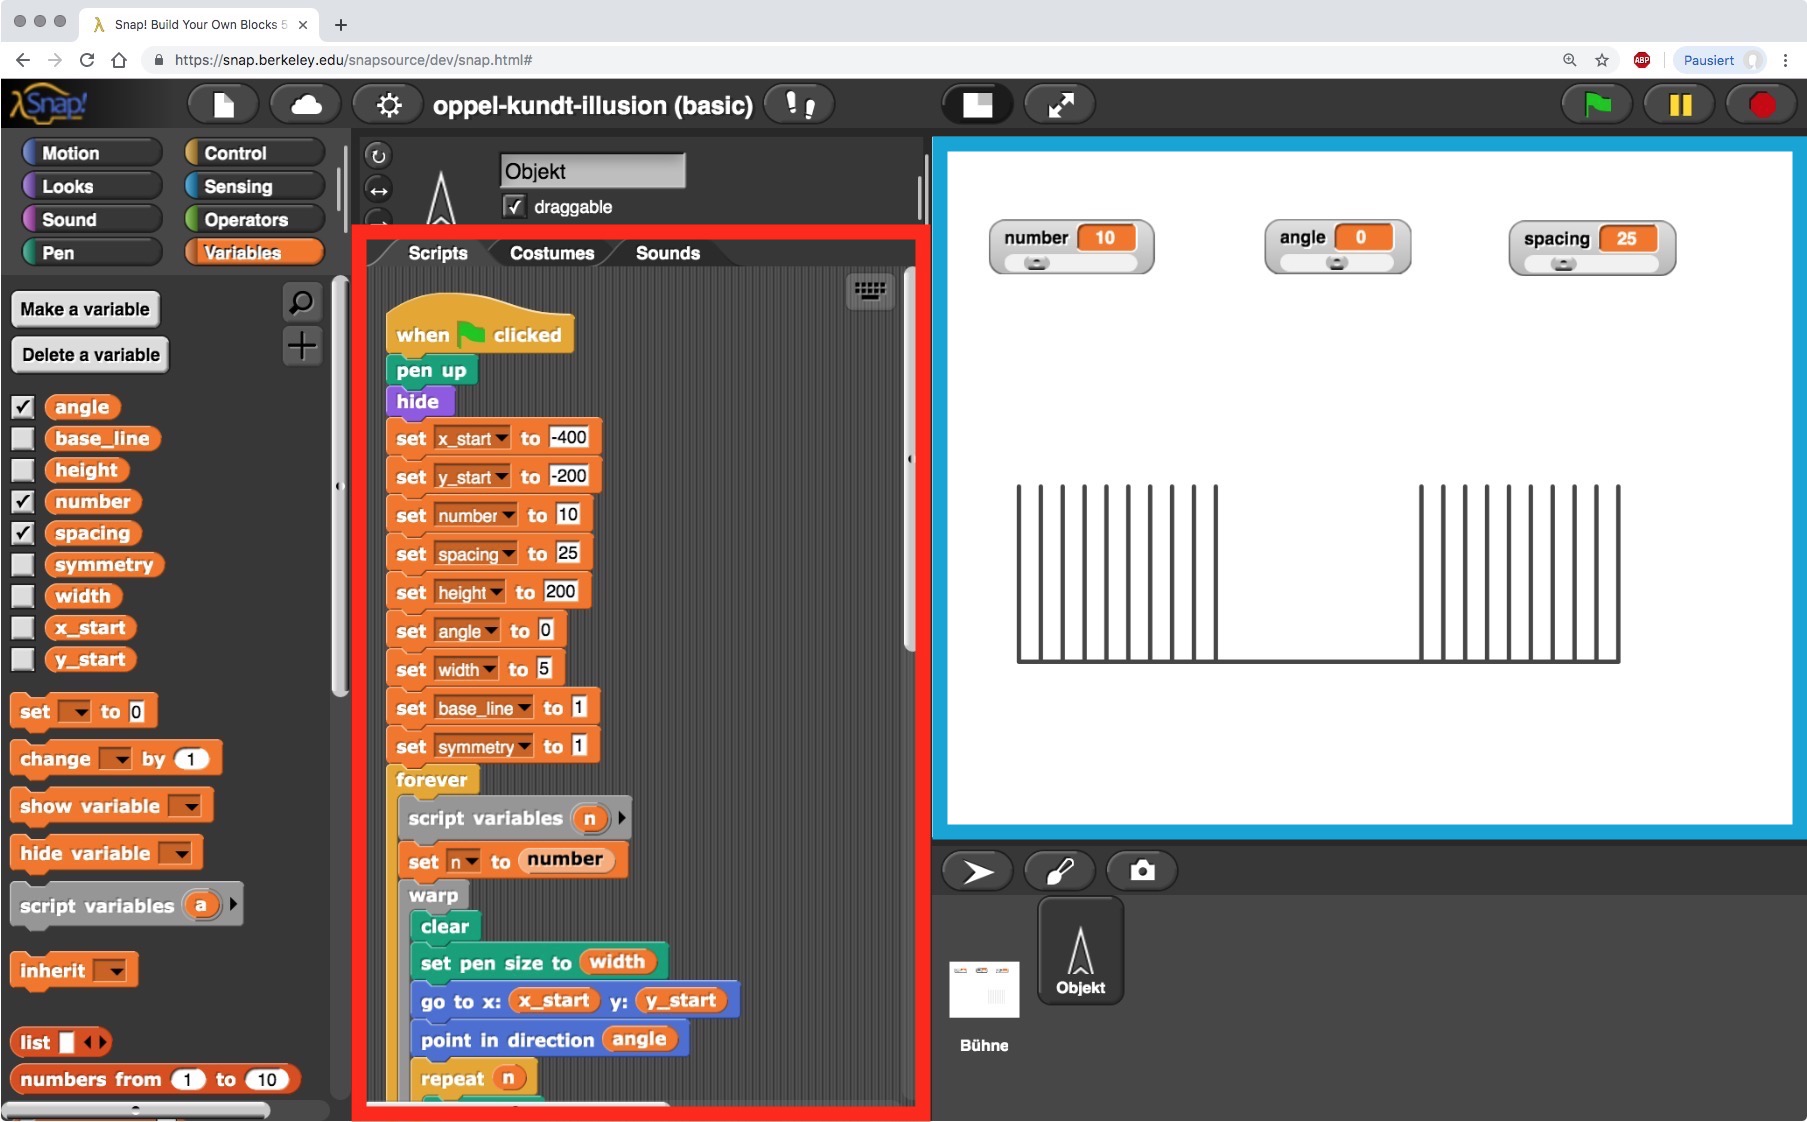 How to make your own optical illusion: The Opticals pages are no introduction to programming with Snap!. You can find everything you need in the Snap!-manual. But I’d like to give you some hints, which approach to programming optical illusions has proven to be successful for me. First think, then code! Before you start to code, it is worth examining the respective optical illusion very closely:
- Which graphic elements are needed at all? Do you need lines, circles, colors or anything else?
- It is best to make everything as variable as possible! Later it will be even easier to use the optical illusion as a kind of „laboratory“.
- Many picture elements are used again and again. It is therefore worthwhile to build up a library with such procedures right from the start.
- Which picture elements should be controllable? If you or other viewers are to interact with the image, then you need to determine what elements are necessary for that.
- As a rule, there are several options for implementing the respective illusion as a program. Keep your program as simple as possible, but also as flexible as possible. Use reusable program blocks and give the program a clear structure.
Animation and Interaction: All illusions presented on this website are animated and interactive. The animation principle is very simple and corresponds to traditional stop motion technique. Here each frame is drawn by the computer: each image is continuously replaced by a new image with updated characteristics (such as colors, lengths, angles, etc.). So it’s the principle to paint – to wipe – to paint …
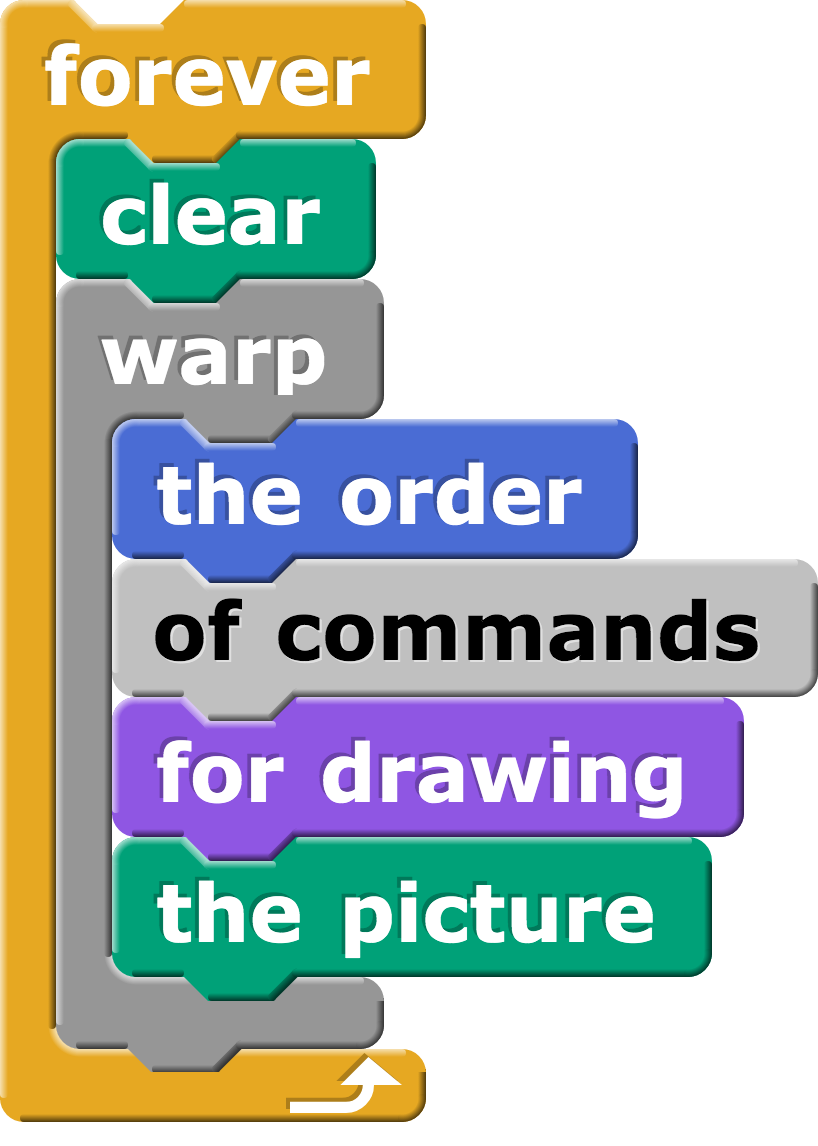 If that happens fast enough, we get a flicker-free animated optical illusion. The animation takes place in an endless loop (forever). First the stage is cleared (clear), followed by the order of commands for drawing the picture. The warp command is essential, as it ensures that the graphic output does not occur until the image is completely drawn.
For the viewers to be able to interactively control the illusions, sliders are provided for the characteristic values. If these 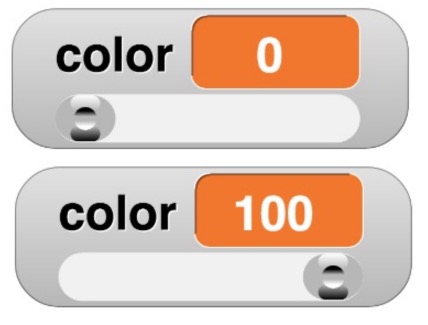 values are changed, the image will be updated with them at the next repeat loop. In order to avoid undesired effects, meaningful minimum and maximum values must be provided for the characteristic values.
Have fun programming your own optical illusions!